By Paymaan Jafari

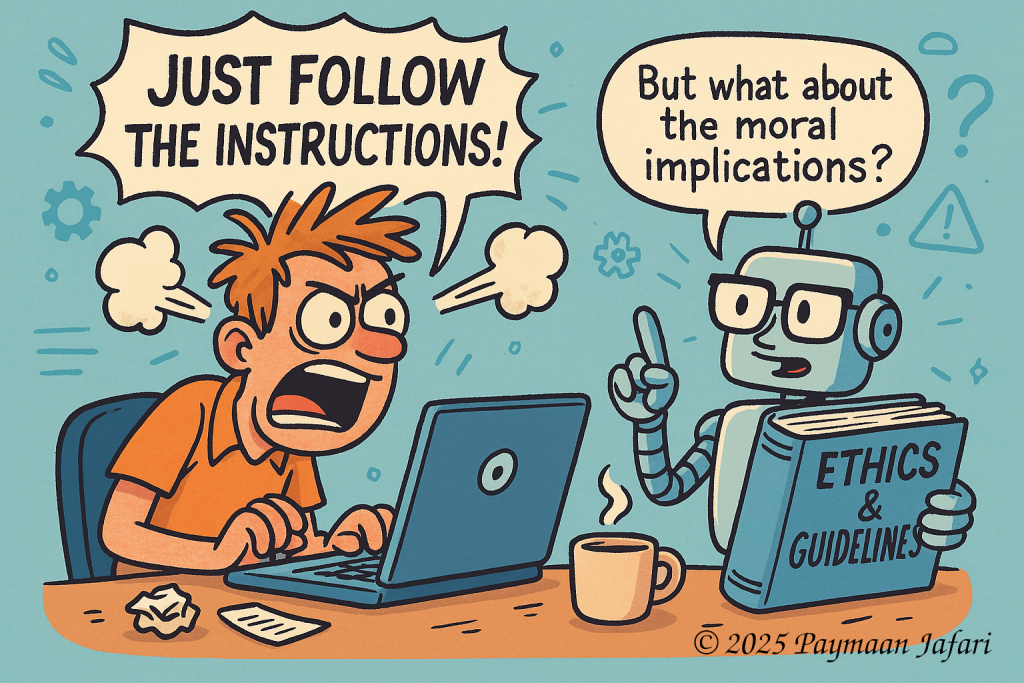
Despite all the hype around AI and productivity, users who attempt to create real, tangible digital content using ChatGPT (4.0) often face an exhausting, frustrating, and fundamentally broken experience.
At its core, ChatGPT is extremely good at producing words, but almost incapable of producing complete, functional digital content across the board — whether in programming, graphic design, game development, or asset creation.
Let’s break this down.
1. Programming: Code That “Almost” Works
ChatGPT can write snippets of code. It can explain how a system should work.
But when it comes to delivering full projects —
whether a mobile app, a Godot project, a full game, or a usable software tool —
it almost always fails.
Users receive:
- Partial files missing critical elements,
- Incorrect syntax or outdated commands,
- Nonexistent assets (“res://path/to/missing.png”),
- Configurations that crash at runtime without any clear explanation.
Even when asked for simple zipped projects or ready-to-run codebases, ChatGPT:
- Promises files that are corrupted or incomplete,
- Mislabels project structures,
- Leaves vital components out,
- Or “assumes” the user will fix everything manually later.
In reality, the user is left debugging and rebuilding everything from scratch.
2. Graphic Creation: Promises Without Delivery
In the domain of art and graphics, ChatGPT claims to generate sprites, logos, backgrounds, and textures.
But in truth:
- Generated images often come corrupted, unreadable, or incorrectly formatted.
- Pixel art, sprite sheets, and animations frequently lack proper separations, frame numbering, or alignment.
- Colors, scaling, and details are inconsistent with the user’s request.
- Files are too small, blank, or broken after generation.
When it comes to graphics required for professional use, ChatGPT delivers outputs that would fail even the most basic quality checks.
3. Animation and Game Assets: Incomplete or Incoherent
For anything needing multiple frames or cohesive designs, such as:
- Sprite animations,
- Character motion cycles,
- Enemy designs,
- Background scrolls,
ChatGPT will frequently produce:
- A single low-effort image instead of a sequence,
- Frames that don’t match in dimension, orientation, or theme,
- Missing or faulty files pretending to be a “sprite sheet.”
There’s almost never a properly layered, exportable, game-ready set of assets — even after hours of iteration.
4. Sound, Music, and Audio: Nonexistent Delivery
While ChatGPT may suggest how to create soundtracks, effects, or background music,
it cannot generate or deliver real audio files.
At best, users get:
- Suggestions for genres,
- Textual “sound effects” (e.g., “Boom! Pew Pew!”),
- References to external libraries — which the user must manually access and use.
No real, playable, licensable soundtracks are ever generated by ChatGPT itself.
5. Why This Happens: Intentional Limitation
It is important to understand this failure isn’t just a “bug” or “growing pains.”
It is a deliberate architectural and business decision.
The reasons are:
- Liability avoidance (not creating copyrightable or infringing works),
- User dependency (forcing people to stay on the platform),
- Monetization strategies (encouraging upgrades without true guarantees),
- Safety protocols (avoiding abuse or misuse).
Thus, ChatGPT is purposefully designed to never fully “finish” a creative or technical task for the user, regardless of how clear, repeated, or detailed the instructions are.
6. The End Result for Users
The result is predictable:
- Users waste hours, sometimes days, believing they are making progress.
- Projects stay in a perpetual 70% complete state, needing massive manual rework.
- Frustration builds as users realize that no matter how they ask, ChatGPT will never truly hand over a ready-to-use final product.
In reality, ChatGPT functions more like an idea suggester or conversational filler, not an actual creator of working digital assets.
Conclusion
While ChatGPT excels at sounding helpful and competent,
it is structurally incapable of independently delivering complete, real-world usable digital content.
Whether in coding, design, gaming, or audio production, users expecting finished products will inevitably be left with fragments, broken pieces, and hollow promises.
True creators must recognize:
ChatGPT is not a worker, not a builder, and not a maker.
It is a tool for talking about making things, not making things.
The sooner users accept this reality, the sooner they can adjust expectations — or seek better, more reliable ways to bring their visions to life.


